As a $35 pc with very low power requirements, the Raspberry Pi is uniquely suited to serve many different purposes especially as an always-on low power server. When I first heard of the Pi, I was excited because I wanted it to become an AirPrint Server. This allows Apple’s iOS line of devices to print to the Raspberry Pi which then turns around and prints to your regular printer via CUPS. I used my network laser printer for this, but there is no reason why you couldn’t use a hardwired printer (over USB) on the Pi itself. About a month ago, I succeeded. Last week, I put up a video demonstrating it, and today, I bring you the long-promised tutorial so that you can set it up yourself.
I’d like to thank Ryan Finnie for his research into setting up AirPrint on Linux and TJFontaine for his AirPrint Generation Python Script.
For the purpose of this tutorial, I used PuTTY to remotely SSH into my Raspberry Pi from my Windows 7 running Desktop PC.
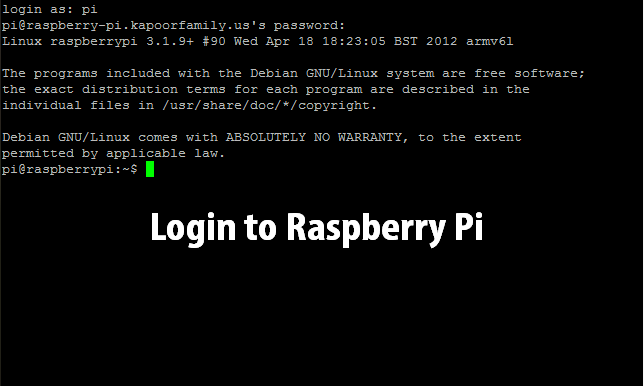
To begin, let’s login to the pi which uses the username pi and password raspberry.
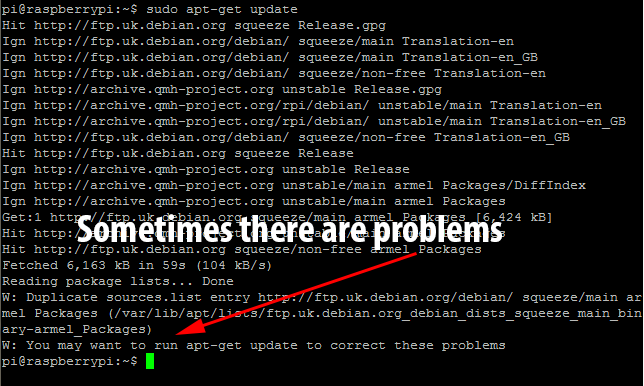
We now have to install a whole bunch of packages including CUPS and Avahi. Before we do this, we should update the package repositories as well as update all packages on the Raspberry Pi. To update the repositories, we type in the command sudo apt-get update.
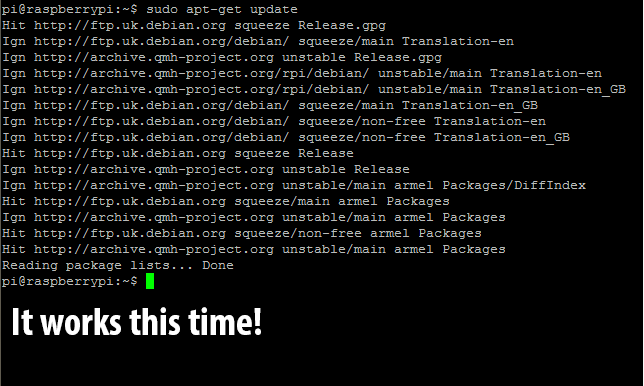
Naturally, this doesn’t quite work as expected, ending with an error requesting another package update. If you get this error just type in sudo apt-get update again.
It seems the second time is the charm!
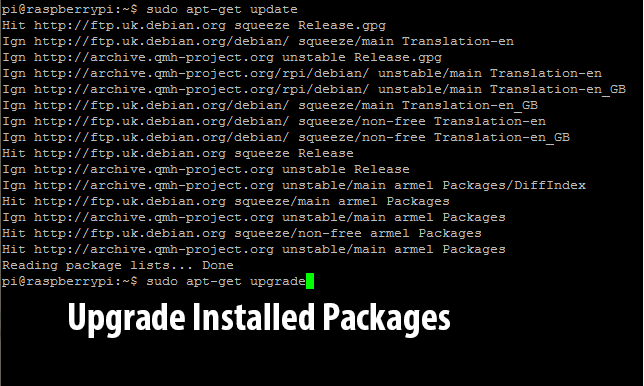
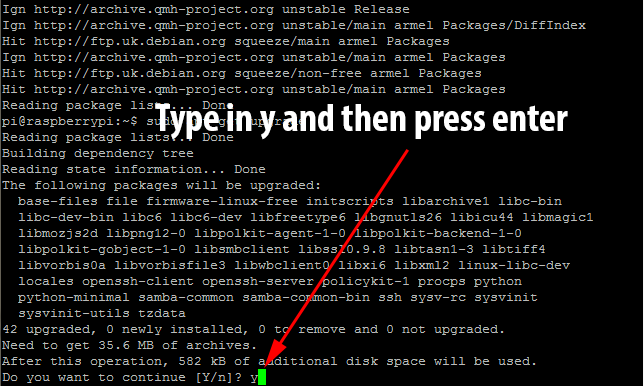
Now we need to upgrade the packages installed on the Pi using the new repository information we’ve just downloaded. To do this, we type in sudo apt-get upgrade.
This will generate a list of packages to install and will then request approval before continuing. Just type in y and press enter to let it continue.
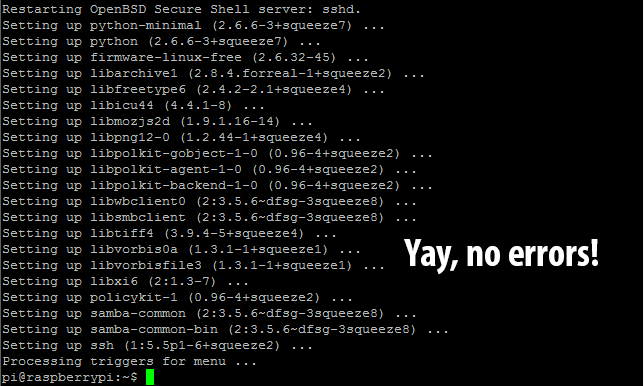
This will take a few minutes as it downloads and installs many packages. Eventually you will be returned back to a bash prompt.
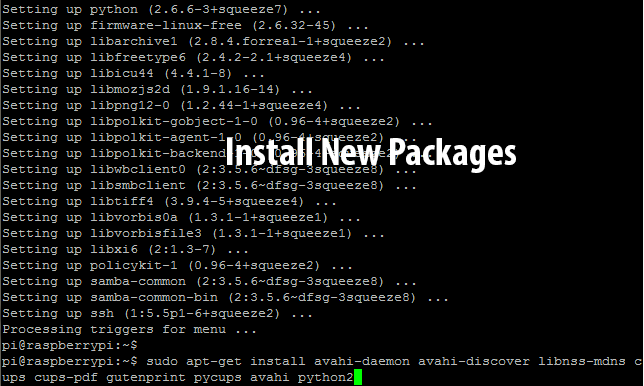
At this point, we have to begin to install all of the programs that the AirPrint functionality will rely on: namely CUPS to process print jobs and the Avahi Daemon to handle the AirPrint announcement. Run sudo apt-get install avahi-daemon avahi-discover libnss-mdns cups cups-pdf gutenprint pycups avahi python2 to begin this install.
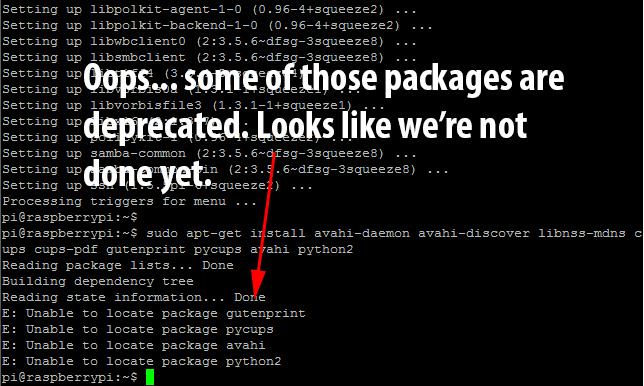
Looks like some of those have been deprecated or had their names changed. We’ll have to install those ones again in a minute.
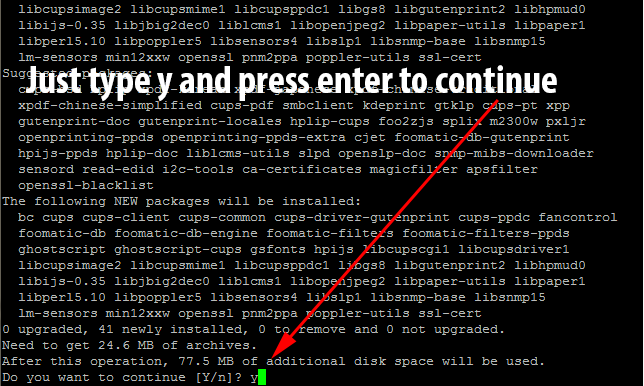
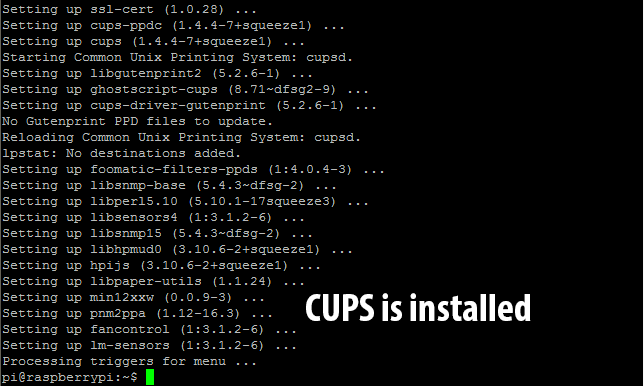
For some strange reason CUPS didn’t get installed, even though it was the list of programs to install in the last command. Run sudo apt-get install cups to fix this.
Once again, it will need confirmation before continuing. As before, just type in y and press enter to continue.
Once it finishes, you will again be returned to the bash prompt.
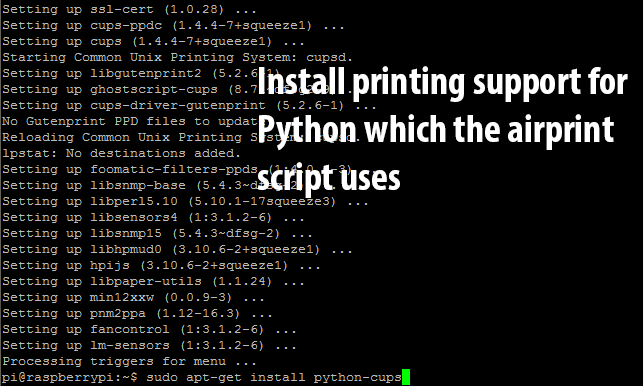
Time to install python-cups which allows python programs to print to the CUPS server. Run sudo apt-get install python-cups to install.
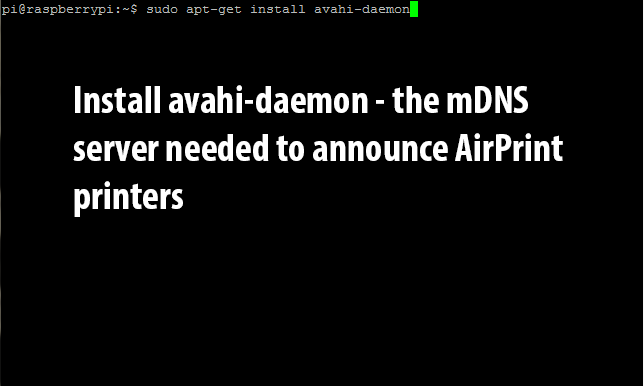
Once you’ve returned to the bash prompt, run sudo apt-get install avahi-daemon to install the avahi daemon (an mDNS server needed for AirPrint support).
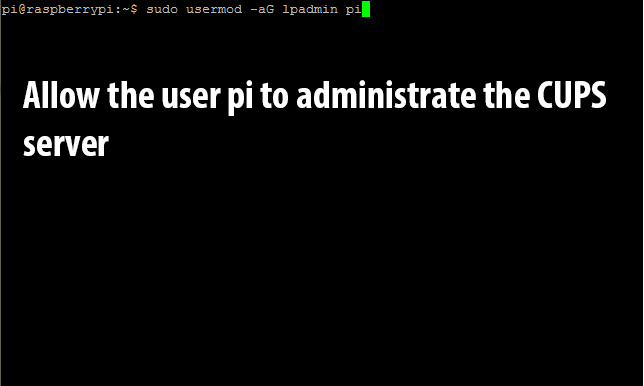
For security purposes, the CUPS server requires configuration changes (managing printers, etc) to come from an authorized user. By default, it only considers users authorized if they are members of the lpadmin group. To continue with the tutorial, we will have to add our user (in this case pi) to the lpadmin group. We do this with the following command: sudo usermod -aG lpadmin pi (replace pi with your username).
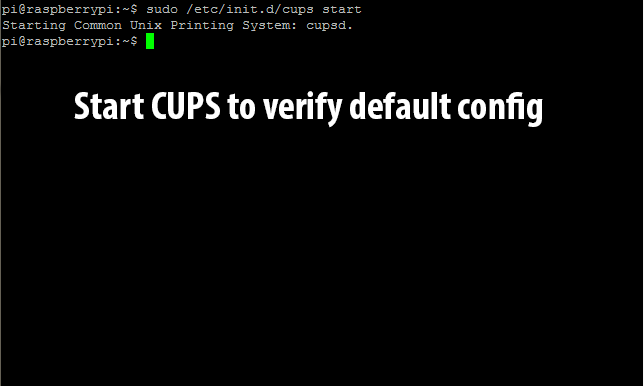
Before continuing, lets start the cups service and make sure the default configuration is working: sudo /etc/init.d/cups start.
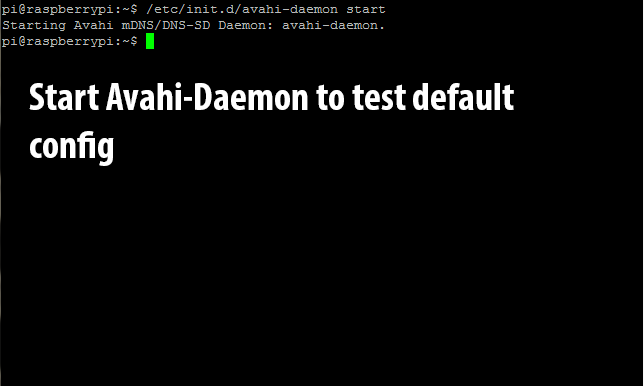
Since we just tested CUPS’s default configuration, we might as well do the same to the Avahi-Daemon: sudo /etc/init.d/avahi-daemon start.
If you get any errors during the previous two startup phases, it is likely that you didn’t install something properly. In that case, I recommend that you go through the steps from the beginning again and make sure that everything is okay! If you proceed through without any errors then it’s time to edit the CUPS config file to allow us to remotely administer it (and print to it without a user account on the local network – needed for AirPrint). Enter in sudo nano /etc/cups/cupsd.conf.
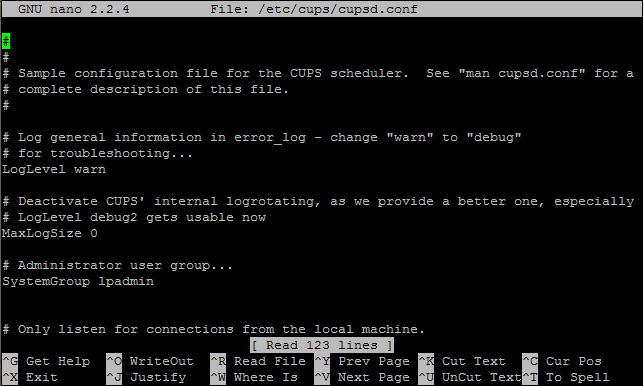
The configuration file will load in the nano editor. It will look like this.
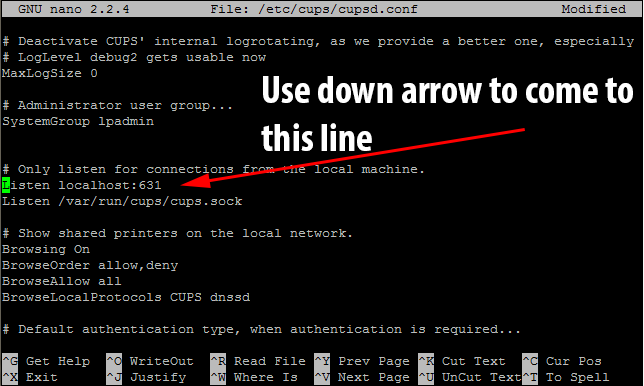
Use the down arrow until you come to the line that says Listen localhost:631.
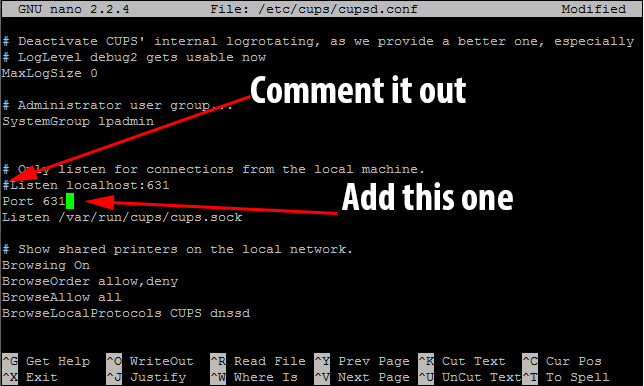
This tells CUPS to only listen to connections from the local machine. As we need to use it as a network print server, we need to comment that line out with a hashtag(#). As we want to listen to all connections on Port 631, we need to add the line Port 631 immediately after the line we commented out.
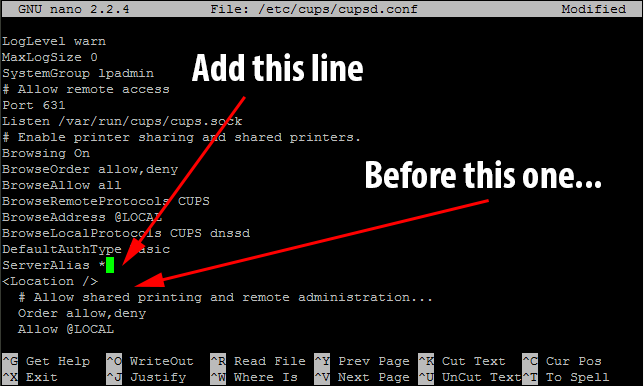
We also need to tell CUPS to alias itself to any hostname as AirPrint communicates with CUPS with a different hostname than the machine-defined one. To do this we need to add the directive ServerAlias * before the first <Location /> block.
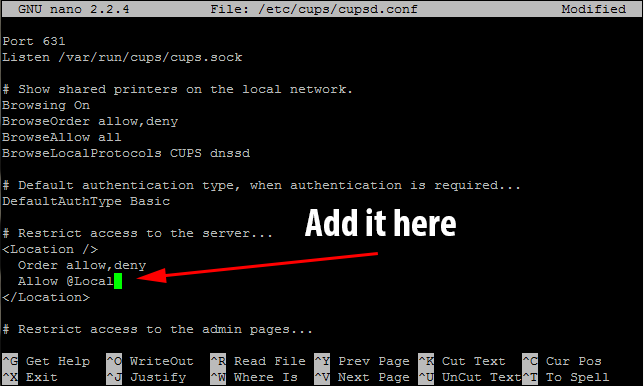
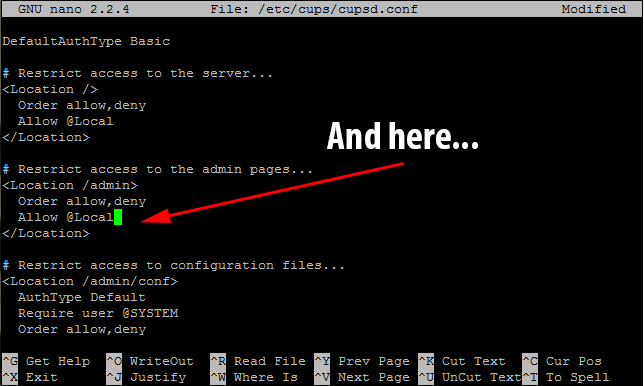
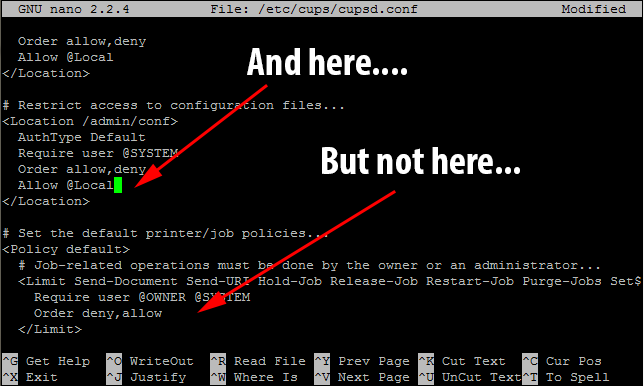
To continue setting up remote administration, there are several places that we need to enter the line Allow @Local after the line Order allow, deny – however this does not apply to all instances of that line.
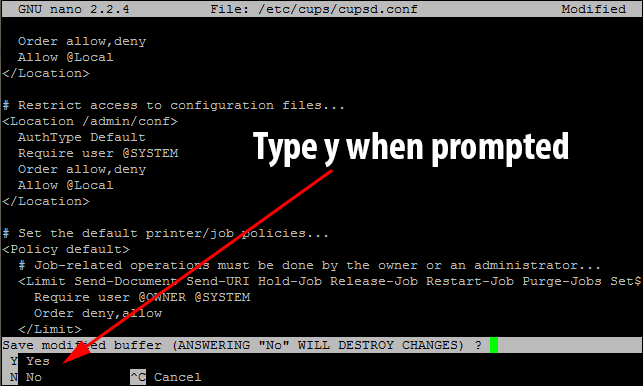
We now need to save the CUPS config file and exit the nano text editor. To do this hold down ctrl and press x. You will be prompted to save the changes. Make sure to type y when it prompts you.
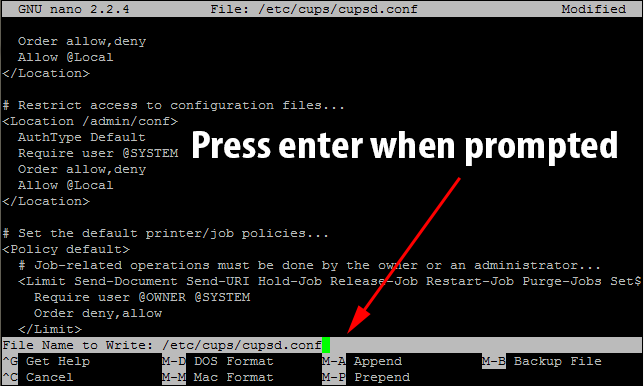
It will then ask you to confirm the file name to save to. Just press enter when it prompts you.
Next, we need to restart CUPS to have the currently running version use the new settings. Run sudo /etc/init.d/cups restart to restart the server.
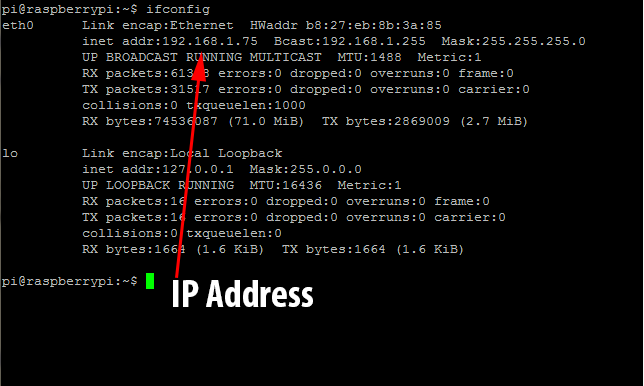
It’s time to find out the Pi’s IP address to continue setting up printing via the web configuration tool. In my case, my Pi is assigned a static address by my DHCP server of 192.168.1.75. To find out your Pi’s IP address, just run ifconfig.
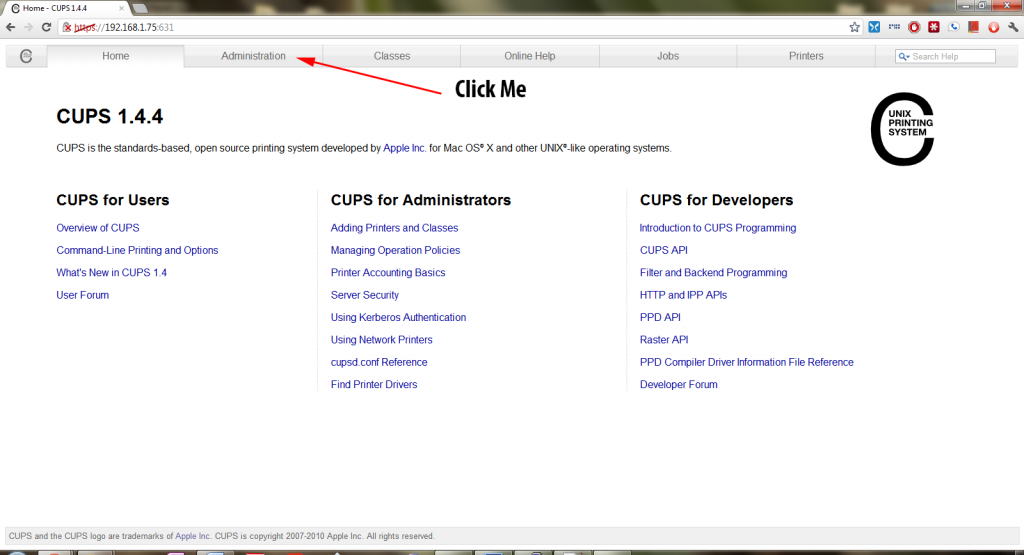
Once we have the IP address, we can open a browser to the CUPS configuration page located at ip_address:631. More than likely you will see a security error as the Raspberry Pi is using a self-made SSL certificate (unless you have bought and installed one).
To continue on, click on Proceed anyway or your browser’s equivalent if you are sure you have entered in the correct IP address. You will then see this screen.
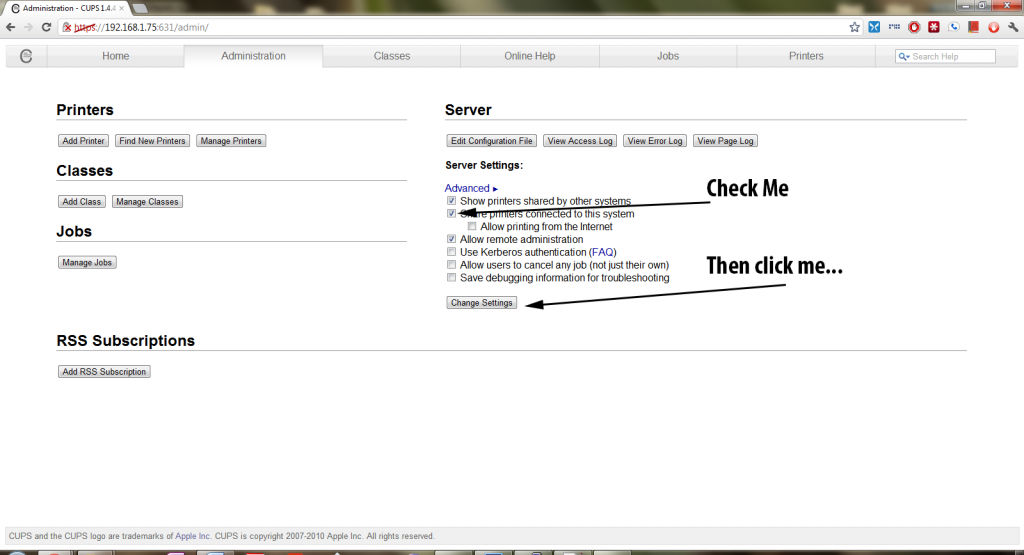
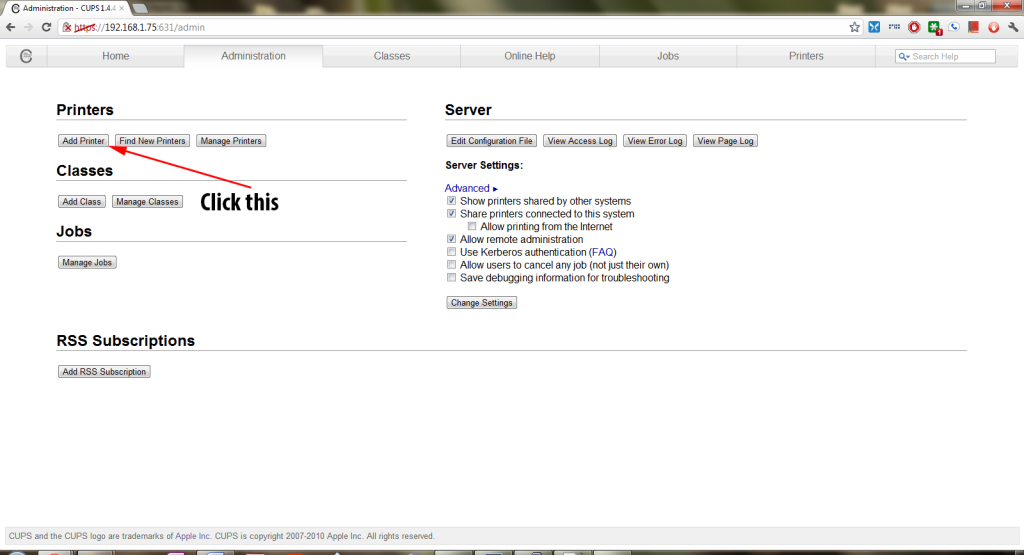
From there, go ahead and click the Administration tab at the top of the page. You will need to check the box that says Share Printers connected to this system and then click the Change Settings button.
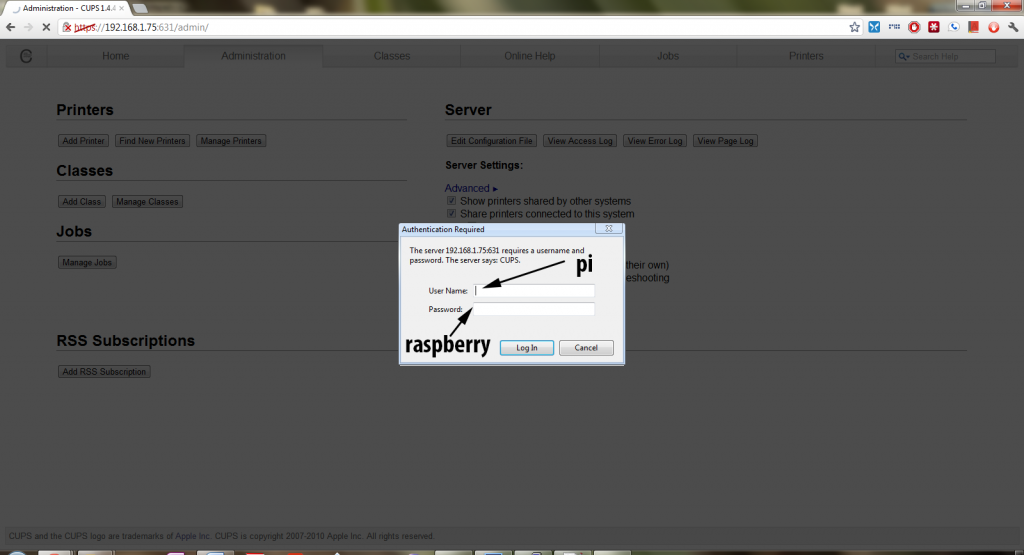
CUPS will request password authentication, and since we added the user pi to the lpadmin group earlier, we can login with the username pi and password raspberry.
The CUPS server will write those changes to it’s configuration file and then reboot.
At this point, it is time to setup your printer with CUPS. In my case, I am using a Brother HL-2170w network laser printer and my screenshots will be tailored to that printer. Most other printers that are CUPS compatible (check http://www.openprinting.org/printers for compatibility) will operate the same way. If you are using a USB printer, now is the time to plug it in. Give it about a few seconds to get recognized by the Pi and then click the Add Printer button to begin!
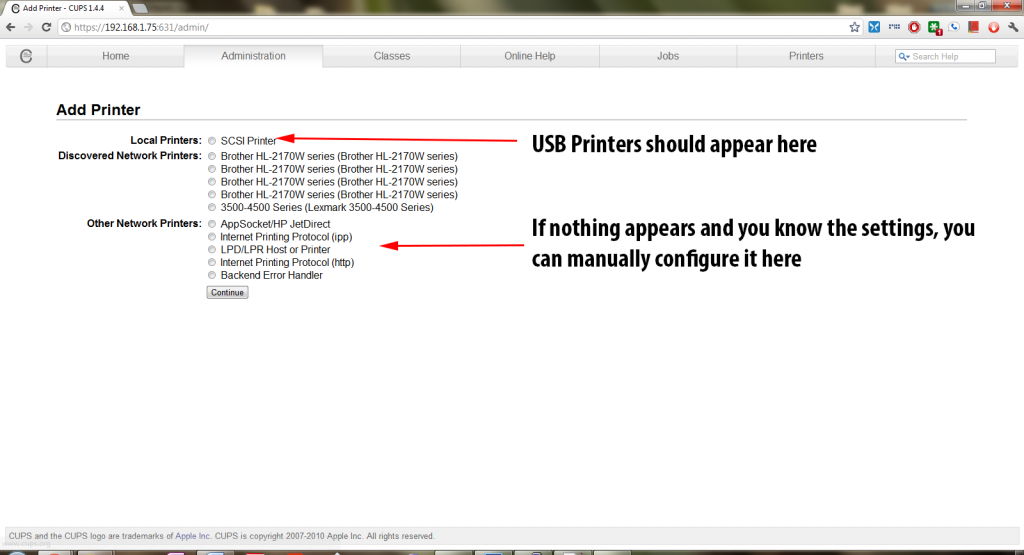
CUPS will begin looking for printers. Just wait till it comes to a list of discovered printers.
Eventually you will come to a page that looks like this:
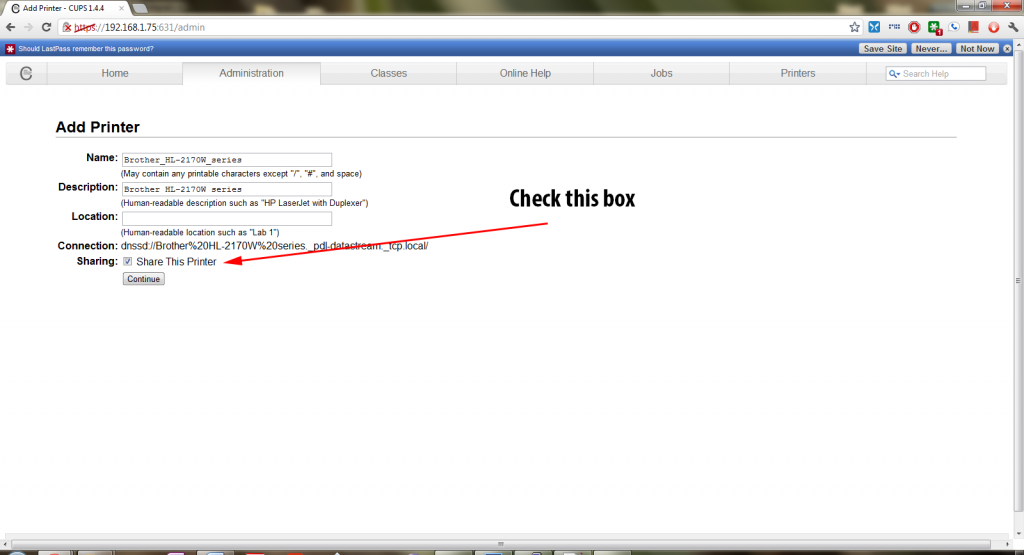
Once you have chosen the correct printer and clicked continue – you will be brought to the settings page. Make sure to check the box regarding sharing or AirPrint may not work correctly.
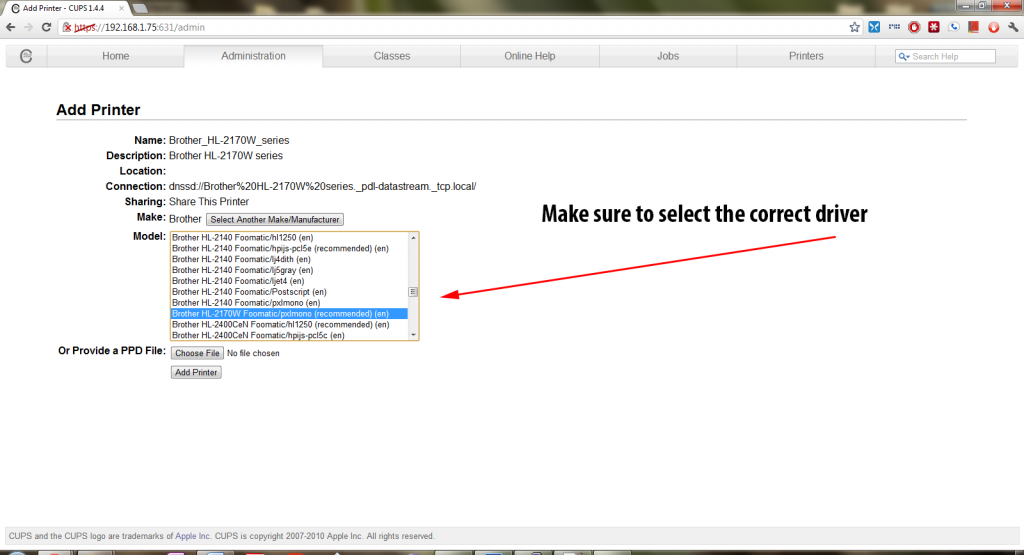
You will then have to select the driver for your printer. In most cases, CUPS will have the driver already and all you need to do is select it – but with newer printers, you will need to get a ppd file from the OpenPrinting database and use that.
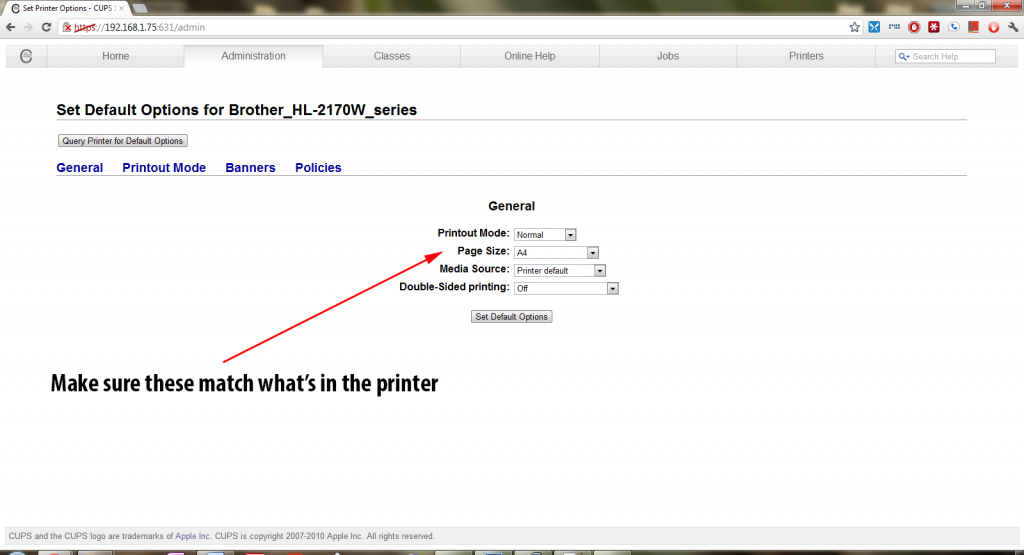
Then you need to set the default settings for the printer, including paper size and type. Make sure those match your printer so that everything prints out properly.
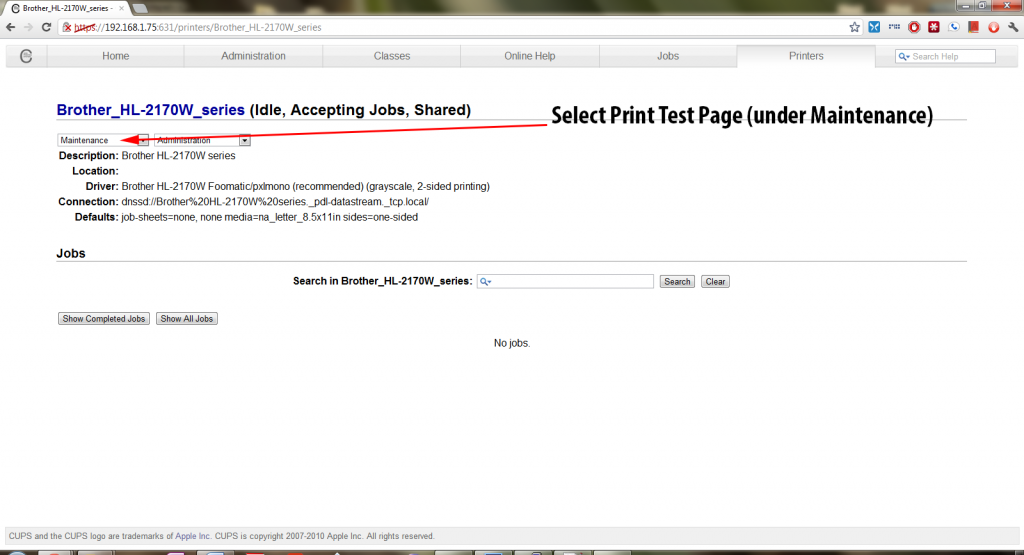
Once you are done, you should see the Printer Status page. In the Maintenance box, select Print Test Page and make sure that it prints out and looks okay.
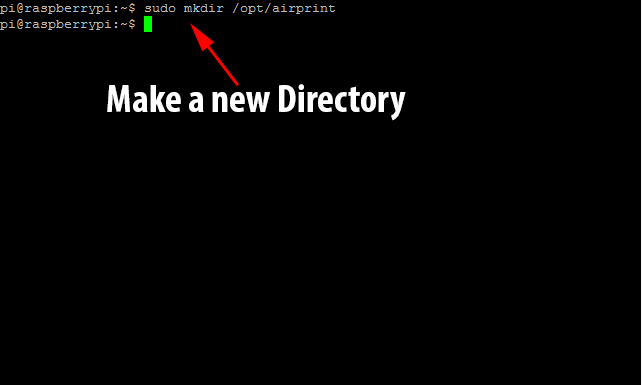
If you get a proper test page, then you’ve successfully setup your CUPS server to print to your printer(s). All that’s left is setting up the AirPrint announcement via the Avahi Daemon. Thankfully, we no longer have to do this manually, as TJFontaine has created a python script that automatically talks to CUPS and sets it up for us! It’s time to go back to the Raspberry Pi terminal and create a new directory. Run sudo mkdir /opt/airprint to create the directory airprint under /opt/.
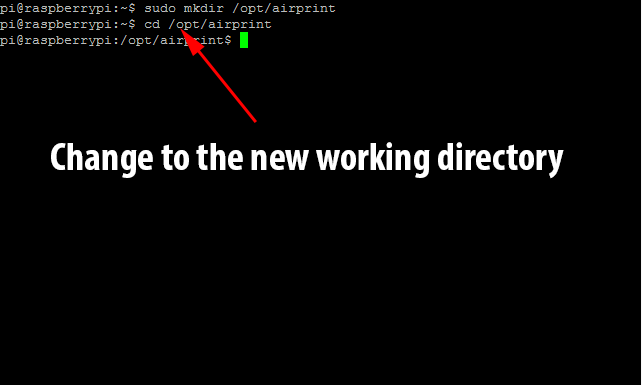
We next need to move to that directory with the command cd /opt/airprint.
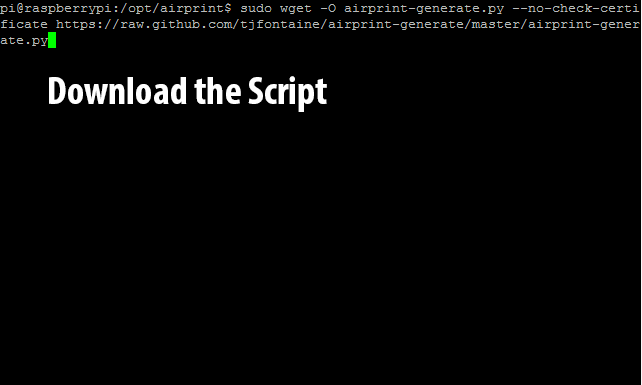
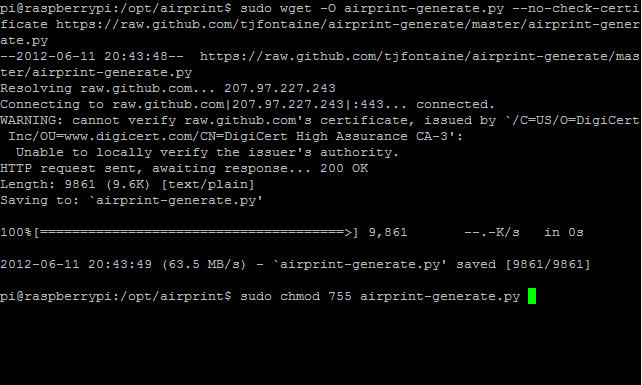
Now we need to download the script with the following command: sudo wget -O airprint-generate.py --no-check-certificate https://raw.github.com/tjfontaine/airprint-generate/master/airprint-generate.py
Next, we need to change the script’s permissions so that we can execute it with the command sudo chmod 755 airprint-generate.py.
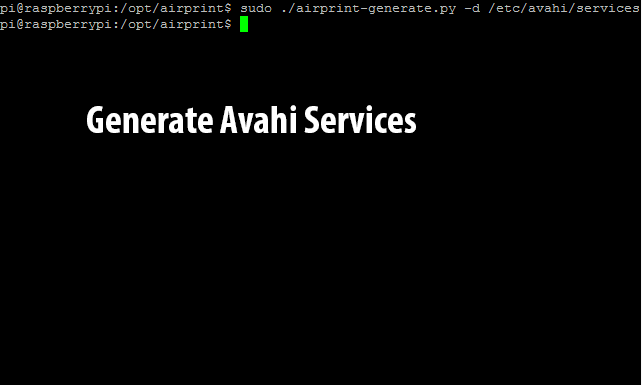
It’s time to finally run the script and generate the Avahi service file(s). Use the command: sudo ./airprint-generate.py -d /etc/avahi/services to directly place the generated files where Avahi wants them.
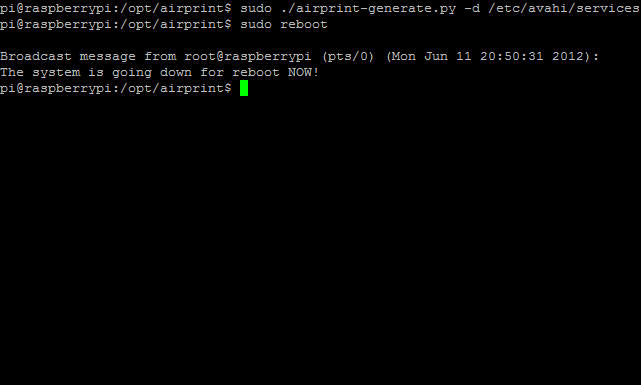
At this point everything should be working, but just to make sure, I like to do a full system reboot with the command sudo reboot. Once the system comes back up, your new AirPrint Server should be ready!
To print from iOS, simply go to any application that supports printing (like Mail or Safari) and click the print button.
Once you select your printer, and it queries it and will send the printjob! It may take a couple minutes to come out at the printer but hey, your iOS device is printing to your regular old printer through a Raspberry Pi! That’s pretty cool and functional right? And the absolute best part, since the Raspberry Pi uses such little power (I’ve heard it’s less than 10 watts), it is very cheap to keep running 24/7 to provide printing services!
UPDATE: If you are running iOS6, due to slight changes in the AirPrint definition, you will have to follow the instructions here, to make it work. Thanks to Marco for sharing them!
