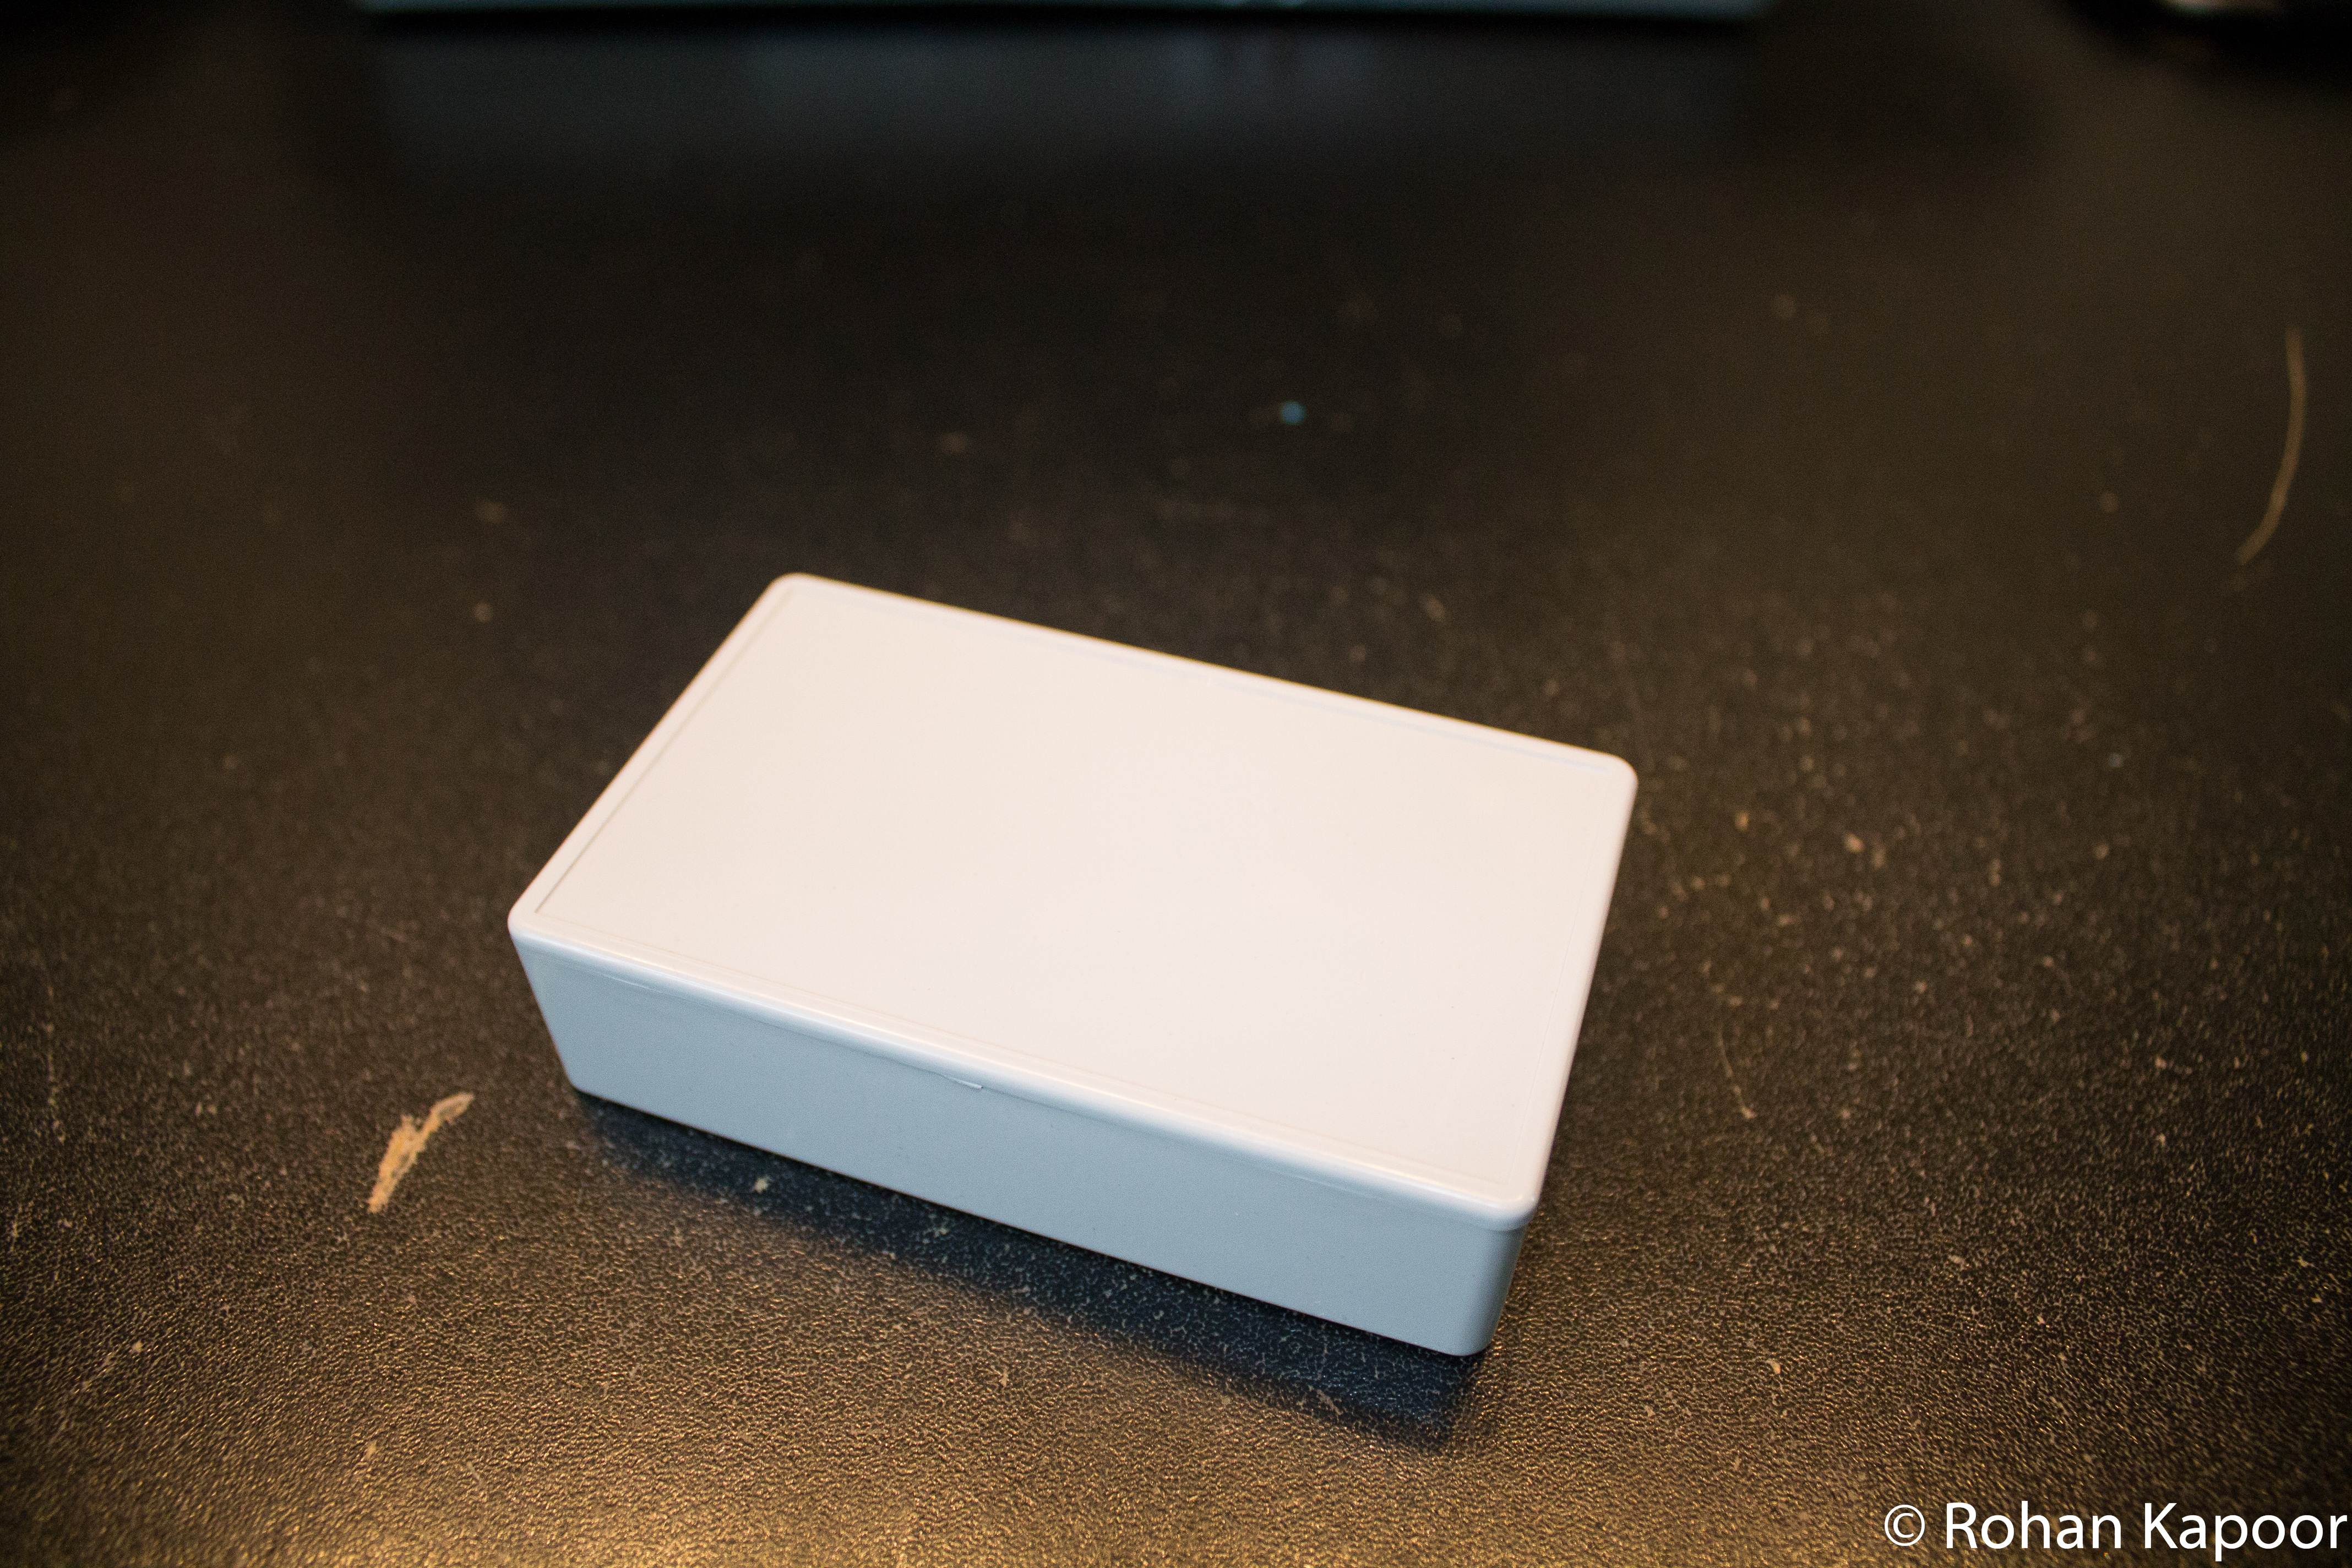
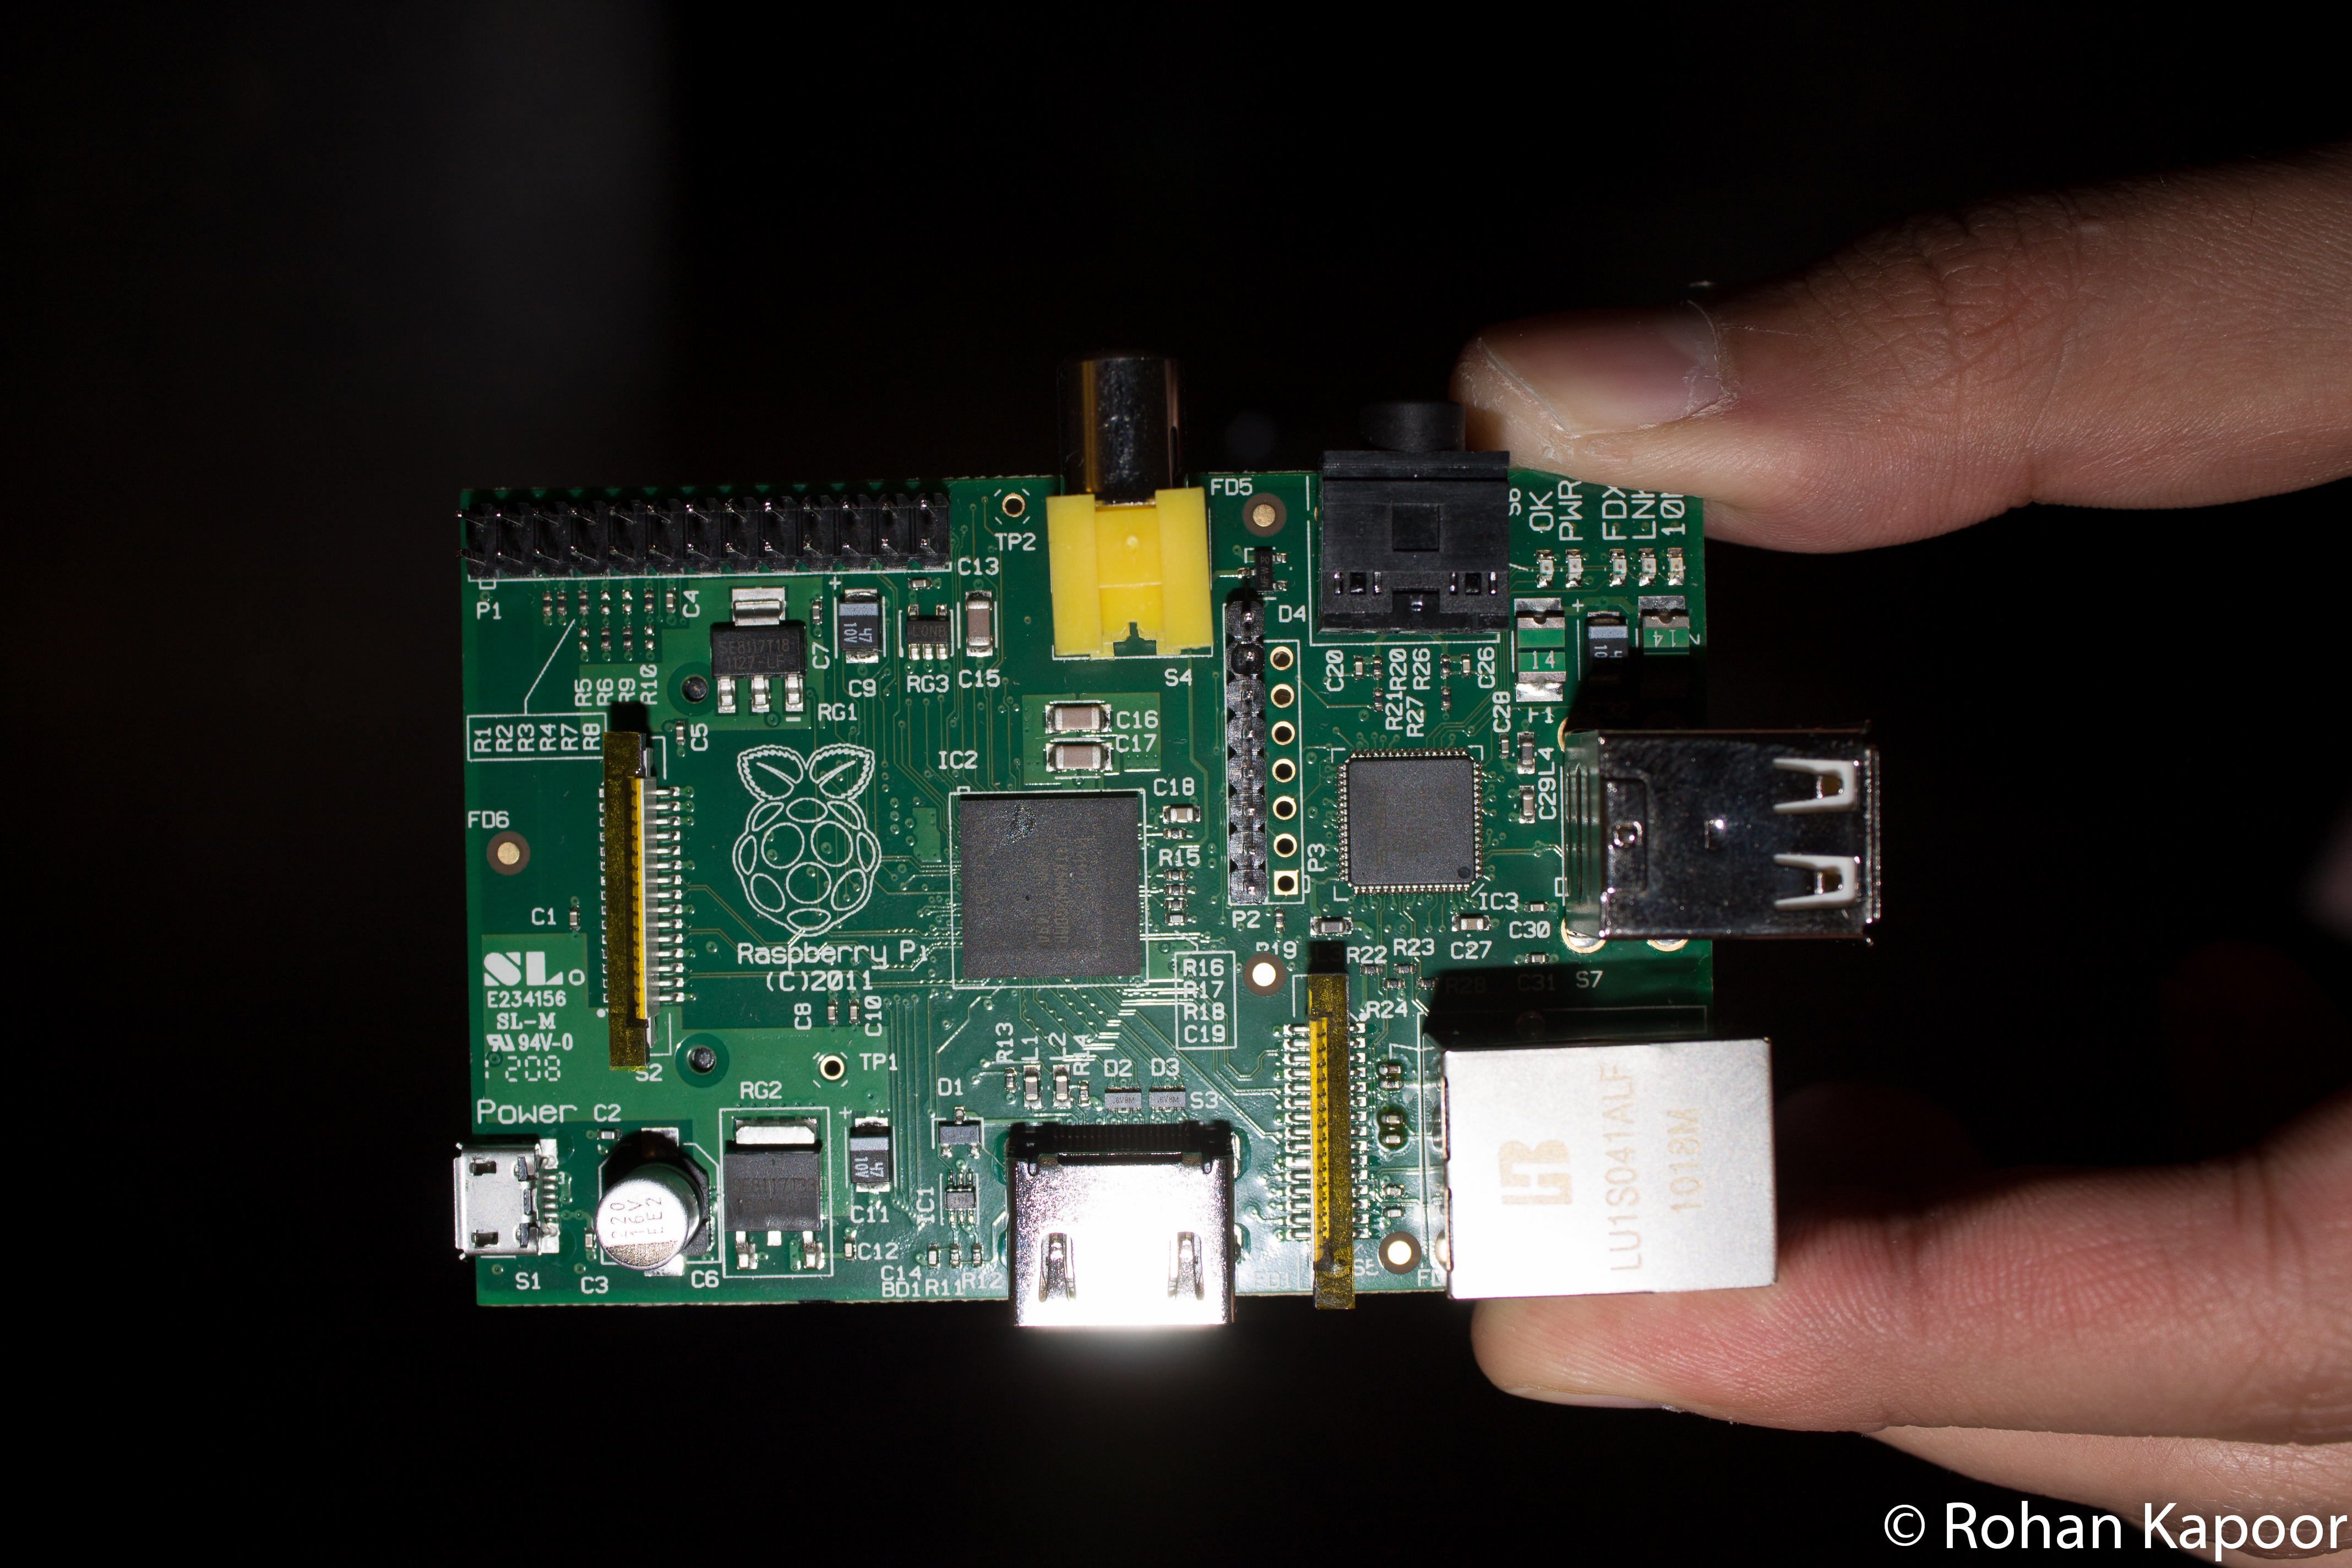
Before I even had a Raspberry Pi, I purchased this project box from eBay hoping that from the schematic measurements of the Raspberry Pi, it would fit. When I got my Raspberry Pi on April 19th, I was much more concerned with playing with it and my upcoming AP exams than casing it. This past weekend, I pulled out the project box and began to fit the Raspberry Pi inside it.
I used an X-Acto knife to cut out the pieces of plastic from the box. The USB ports, RCA jack, and headphone jack all stick out past the sides of the box – to make them fit, I had to trim down extra material from the top of the box to allow them to slip in. The rest of the ports are flush except for the power jack and sd card slot, both of which are less than 1 inch shy of the box’s edge. For those ports that didn’t need to be cut top-down, I used the Punnet template to get the sizes of the ports down correctly. I taped it onto the project box sides and then used a drill to take out most of the holes. I then used the X-Acto knife to straighten them out.
To provide a bed for the Pi to sit on, I cut out strips from the pink piece of foam that the Pi shipped on and hotglued a small piece in each corner the Pi would touch.
Overall, I am very pleased with how my case for the Raspberry Pi came out, even though it’s not perfect by any means. I just wish their store was available again so that I could buy a couple of Raspberry Pi logo stickers for the plain box.
So far, I’ve tested it with the box closed for 3 days running as an AirPrint server (see the demo) and have not had any overheating issues. To the touch, the lid of the box is a little warm but nothing significant. I’ve included a small photo gallery for anyone interested.
